What’s The Proper Way To Clean And Lube My Bike’s Headset Bearings?
If you’ve ever wondered how to properly clean and lube your bike’s headset bearings, you’re in the right place. Maintaining your headset bearings is essential for a smooth and safe ride, and luckily, it’s not as complicated as it may seem. In this article, we’ll discuss the correct method to clean and lube your bike’s headset bearings, ensuring they remain in top-notch condition for your cycling adventures. So, grab your tools, and let’s get started on giving your bike the TLC it deserves!
Inspecting the Headset Bearings
Checking for Loose Bearings
Before diving into the cleaning and lubrication process, it is essential to inspect your bike’s headset bearings for any signs of looseness. This can be done by gently grabbing the front brake and rocking the bike back and forth. If you feel any play or movement in the headset, it is an indication that the bearings may need attention.
Examining for Excessive Wear
Another crucial aspect of inspecting the headset bearings is examining them for excessive wear. Look for any signs of pitting, rust, or dirt buildup on the bearings. Excessive wear can lead to compromised functionality, affecting the bike’s steering and overall performance. If you notice any of these issues, it’s time to proceed with cleaning and lubricating the headset bearings.
Preparing the Tools and Workspace
Gathering the Necessary Tools
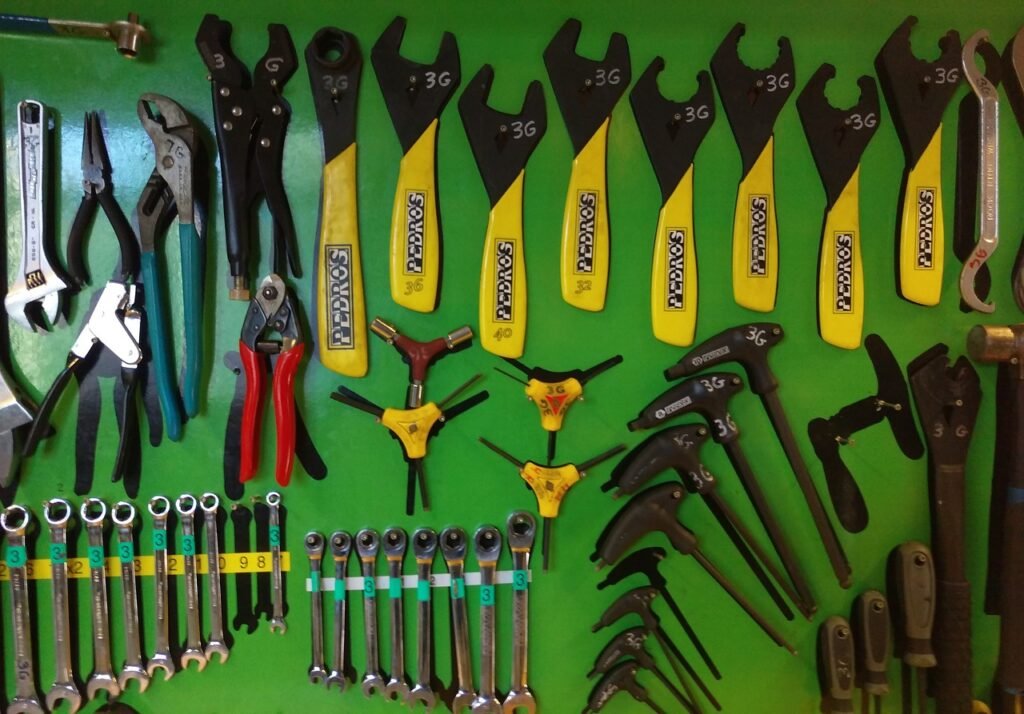
Before starting the cleaning process, gather the required tools. You will need a set of Allen keys or a multi-tool to remove the stem and handlebars, a flat-head screwdriver to loosen the top cap, degreaser to remove dirt and grime, a brush or rag for cleaning, a suitable lubricant for the bearings, and a torque wrench for reassembly.
Setting up a Clean and Well-lit Workspace
Having a clean and well-lit workspace is crucial for successfully cleaning and lubricating your bike’s headset bearings. Find a spot where you can comfortably work on your bike, preferably with a flat surface. It is also advisable to lay down a clean towel or mat to protect your bike from any scratches or damage during the process.
Removing the Headset Bearings
Removing the Handlebars and Stem
To access the headset bearings, you need to remove the handlebars and stem. Use your Allen keys or multi-tool to loosen and remove the bolts securing the stem to the fork steerer tube. Once the bolts are loosened, gently lift the stem away from the fork and set it aside. Take extra care not to damage any cables or wires attached to the handlebars.
Loosening and Removal of the Top Cap
After removing the handlebars and stem, locate the top cap on top of the headset and loosen it with the flat-head screwdriver. This will release any tension that might be present on the headset bearings. Once the top cap is loosened, carefully remove it from the steerer tube. Make sure to keep track of any spacers or washers that might be present between the top cap and the stem.
Cleaning the Headset Bearings
Using Degreaser to Remove Dirt and Grime
Now that you have successfully removed the handlebars, stem, and top cap, it’s time to clean the headset bearings. Start by spraying a degreaser onto a rag or brush and gently scrubbing the bearings. The degreaser will help dissolve any dirt, grime, or old lubricant that has built up over time. Take your time to ensure thorough cleaning of each bearing.
Utilizing a Brush or Rag to Clean the Bearings
After applying the degreaser, use a brush or rag to scrub the bearings, ensuring all surfaces are cleaned. Pay special attention to hard-to-reach areas and crevices where dirt can accumulate. Continue scrubbing until the bearings look clean and free from any debris. Once done, wipe off any excess degreaser using a clean rag.
Inspecting and Cleaning the Headset Cups
Examining for Damage
While you have the headset bearings exposed, it is an excellent opportunity to inspect the headset cups for any signs of damage. Look for cracks, dents, or excessive wear on the cups. If you find any significant issues, it is advisable to replace the headset cups to ensure optimal performance and safety.
Removing Old Grease from Headset Cups
To thoroughly clean the headset cups, use a rag or brush along with some degreaser to remove any old grease that might have accumulated. Wipe the cups thoroughly, making sure to eliminate any dirt or grime. A clean surface will ensure smooth movement and prevent premature wear of the new lubricant to be applied.
Applying Lubrication to the Bearings
Choosing the Right Lubricant
Choosing the appropriate lubricant for your headset bearings is crucial to their proper functioning and longevity. Look for a high-quality, waterproof grease specifically designed for bicycle applications. Avoid using thick or heavy grease as it can lead to excess friction and potential damage to the bearings. Choose a grease that has good water resistance to protect against moisture and corrosion.
Applying Lubricant to the Bearings
Once the headset bearings and cups are clean, it’s time to apply the lubricant. Take a small amount of grease and apply it evenly to each bearing, ensuring full coverage. Use your finger or a clean rag to spread the grease across the bearings’ surfaces. Avoid applying too much grease, as it can cause unnecessary friction and attract more dirt and grime.
Reassembling the Headset
Reinstalling the Headset Cups
With the headset bearings cleaned and lubricated, it’s time to reassemble the headset. Begin by carefully reinstalling the headset cups into their respective positions. Make sure they are properly seated and snug in place. Take extra care not to disturb or dislodge any bearings during this process.
Properly Installing the Bearings
Once the headset cups are securely in place, it’s time to reinstall the bearings. Gently place each bearing into its designated spot, ensuring they fit snugly. Take your time to ensure the bearings are seated correctly. Refer to your bike’s manufacturer guidelines for any specific instructions on bearing placement or order.
Adjusting the Headset
Reinstalling the Stem and Handlebars
Now that the headset bearings are reassembled, it’s time to reinstall the stem and handlebars. Carefully slide the stem back onto the fork steerer tube, aligning it with the front wheel. Use your Allen keys or multi-tool to tighten the bolts and secure the stem in place. With the stem properly tightened, you can reattach the handlebars, taking care not to overtighten the bolts.
Tightening the Top Cap and Stem Bolts
Once the stem and handlebars are securely in place, it’s time to adjust the headset’s tension. Begin by tightening the top cap using the flat-head screwdriver. This will remove any slack in the headset, ensuring a smooth and stable steering experience. Once the top cap is snug, tighten the stem bolts using your torque wrench to the manufacturer’s recommended torque settings.
Checking for Smooth Movement
Testing the Headset’s Functionality
With the headset reassembled and properly adjusted, it’s crucial to test its functionality. Gently grab the front brake and rock the bike back and forth while standing in front of it. The headset should move smoothly without any play or roughness. If you feel any abnormal movement or hear unusual noises, it is recommended to revisit the assembly steps or consult a professional bike mechanic for further inspection.
Ensuring Proper Rotation
Another important aspect of checking your headset’s functionality is ensuring proper rotation of the front wheel. Spin the wheel while holding the handlebars, and it should rotate freely without any interference or resistance. If you notice any rubbing or grinding sensations, it could be an indication of a misaligned headset or other underlying issues. In such cases, it is best to address the problem promptly to avoid any further damage or safety hazards.
Additional Tips and Maintenance
Regular Cleaning and Lubrication Schedule
To ensure your bike’s headset bearings stay in optimal condition, it is recommended to establish a regular cleaning and lubrication schedule. Depending on your riding conditions and frequency, cleaning and lubricating the headset bearings every six months to a year should be sufficient. However, if you frequently ride in wet or dusty conditions, more frequent maintenance may be necessary. Regular maintenance will help extend the lifespan of your headset bearings and enhance your overall biking experience.
Replacing Worn-out Bearings
Over time, headset bearings can wear out and become less effective. If you notice persistent play or roughness in your headset, it may be a sign that the bearings need replacement. When replacing bearings, ensure you choose high-quality replacements that are compatible with your bike’s headset. Refer to your bike’s manufacturer guidelines or consult a professional bike mechanic for the appropriate replacement bearings and installation process. Regularly inspecting and replacing worn-out bearings will contribute to your bike’s safety and smooth operation.
Cleaning and lubricating your bike’s headset bearings is an essential maintenance task that should not be overlooked. By following the proper steps outlined in this article, you can ensure that your headset bearings remain in optimal condition, providing you with a smooth, reliable, and enjoyable riding experience. Remember to set up a clean and well-lit workspace, inspect for loose bearings and excessive wear, and follow the guidelines for removal, cleaning, lubrication, reassembly, and adjustment. With regular maintenance and care, your bike’s headset bearings will continue to serve you well for countless rides ahead. Happy biking!
